1. Overview
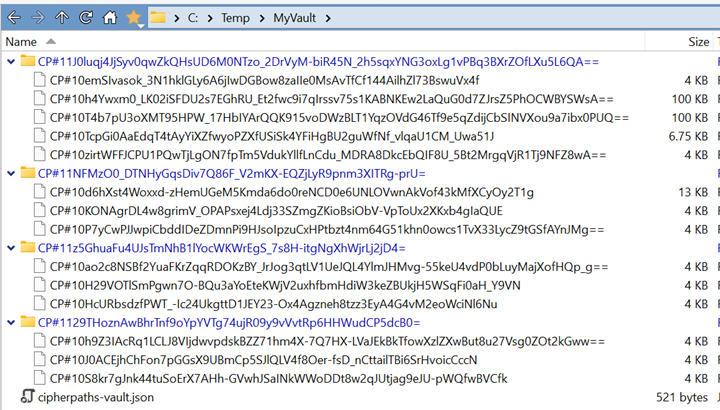
CipherPaths is a combined password manager and encrypted file manager for Windows. It stores everything inside a vault — an ordinary Windows folder in which every file name, folder name and file content is encrypted. Outside the app the vault looks like meaningless random data; inside, you browse it through a familiar explorer-style interface.
This guide walks through the whole workflow: creating your first vault, saving your recovery key, adding accounts and credentials, encrypting files by drag-and-drop, and viewing them safely without ever decrypting to disk.
2. Key concepts
- Vault — the encrypted root folder that holds all your data.
- Master password — the single password that unlocks the vault. It is never stored.
- Recovery key — a printable code that can recover the vault if you forget the master password.
- Account / site — a top-level folder holding one credential (web login, credit card or contact) plus any attached files.
- Credential — the login or card/contact details for an account.
3. Creating a vault
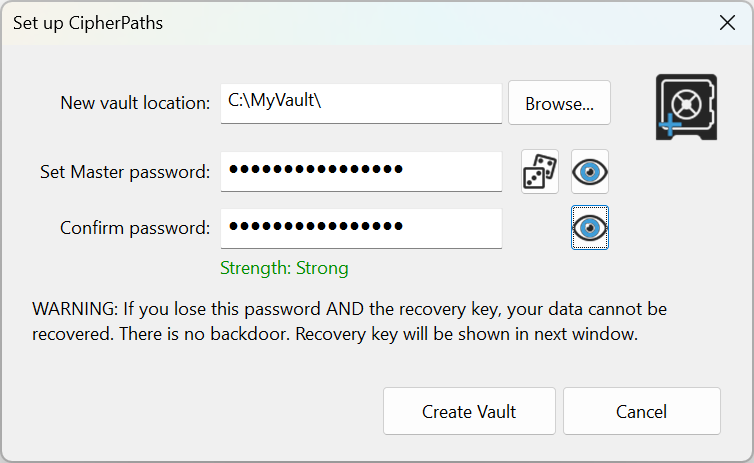
When you launch CipherPaths for the first time, choose Create New Vault from the launch dialog. The setup window then asks for three things:
- New vault location — click Browse… and pick an empty folder. This can be on your PC, a USB stick, or a synced cloud drive folder.
- Master password — type a strong password. The strength meter updates as you type; aim for “Strong”.
- Confirm password — re-type it to be sure.
Use the dice button to generate a strong password, and the eye button to reveal what you have typed. When you're happy, click Create Vault.
4. Your recovery key
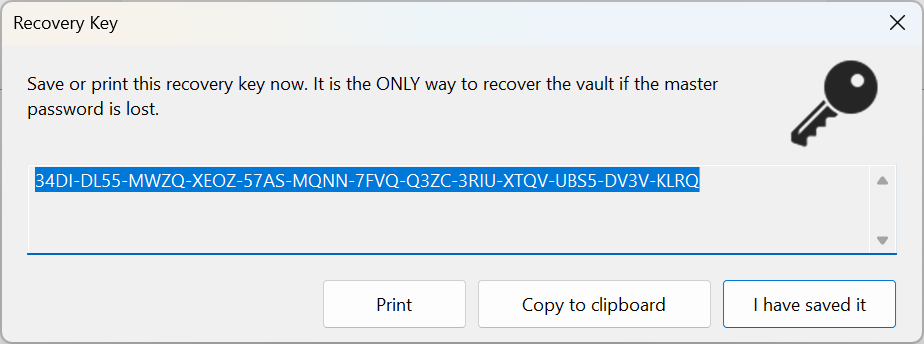
Immediately after the vault is created, CipherPaths shows your recovery key — a long dash-separated code. This is the only way to recover your vault if you forget your master password.
- Click Print to print it on paper and store it somewhere safe.
- Or click Copy to clipboard to paste it into another secure location.
- Only click I have saved it once it is genuinely stored somewhere safe.
5. Opening & unlocking a vault
On later launches, the launch dialog remembers your most recent vault. You can:
- Type your master password next to the remembered vault and click Re-open.
- Choose Open Vault to browse to a different vault folder.
- Choose Create New Vault to start a fresh one.
Your keys are derived from the master password and validated against the encrypted vault header. If the password is wrong, unlocking simply fails — nothing is decrypted.
6. The main window
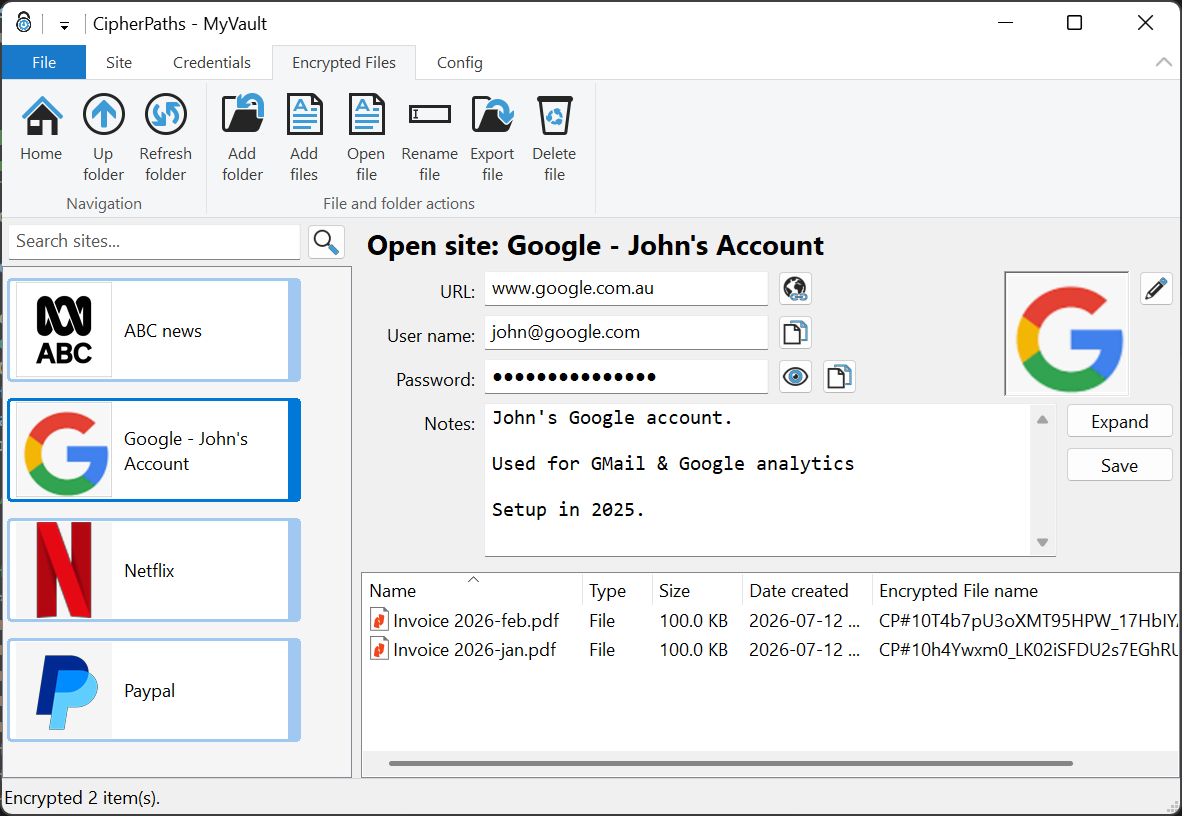
The main window has three panes plus a ribbon toolbar:
- Left pane — your accounts (“sites”), shown as colour-coded tiles with icons. A search box lets you filter instantly.
- Top-right pane — the credential for the selected account, with quick actions.
- Bottom-right pane — the files and sub-folders inside the selected account.
The ribbon tabs — File, Site, Credentials, Encrypted Files and Config — group all the commands you need. Tile colours identify the record type: blue for web logins, green for credit cards, and red for contacts.
7. Adding a site (account)
To add a new account, use Create new account from the ribbon. First choose the record type — Web Credentials, Credit Card or Contact Details — then give the account a name.
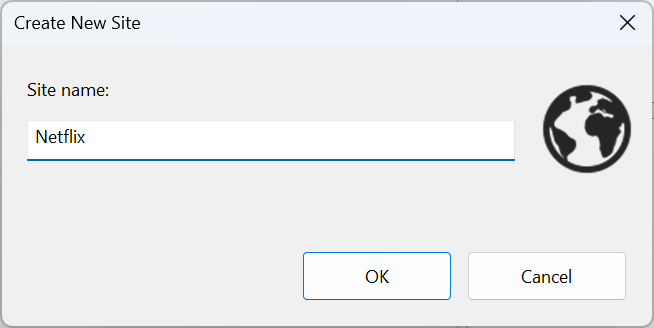
The new account appears as a tile in the left pane. Select it to edit its credential in the top-right pane, or open the full editor as described below.
8. Editing credentials
Select an account and edit its details directly in the credential pane, or open the full Edit Credentials dialog for every field of the chosen record type. For a web login this includes the URL, username, password and 2FA type; there are also read-only Created, Updated and Password set dates.
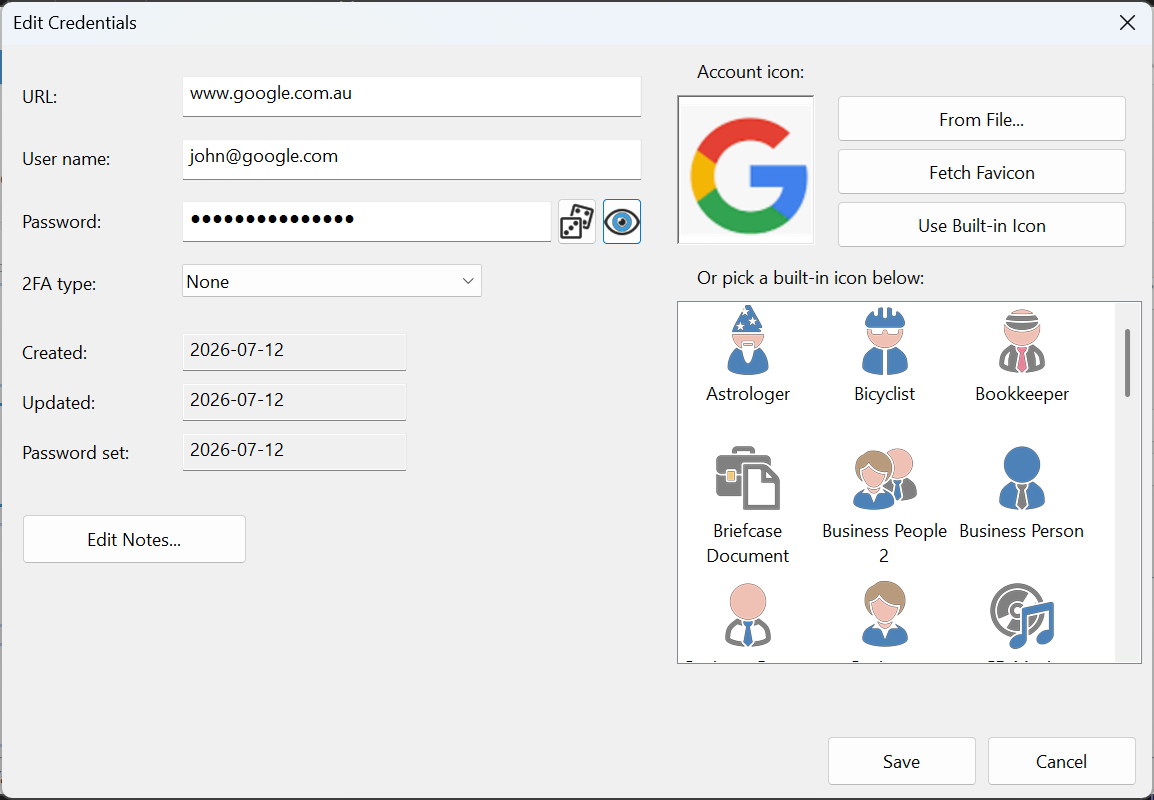
Quick actions in the credential pane
- Launch — open the URL in your default browser.
- Copy user / Copy pass — copy the username or password to the clipboard (auto-cleared after a timeout).
- Reveal — toggle password masking.
- Notes — add free-form notes; use Expand for a larger editor and Save to store them.
Account icon
Give each account a recognisable icon: load one From File, Fetch Favicon from the site's URL, or pick one of the many built-in icons.
9. Password generator
CipherPaths includes a built-in password generator, reachable from the password fields (the dice button) and the ribbon. Adjust the length slider and toggle which character sets to include; the tool shows real-time strength, approximate entropy and an estimated brute-force time.
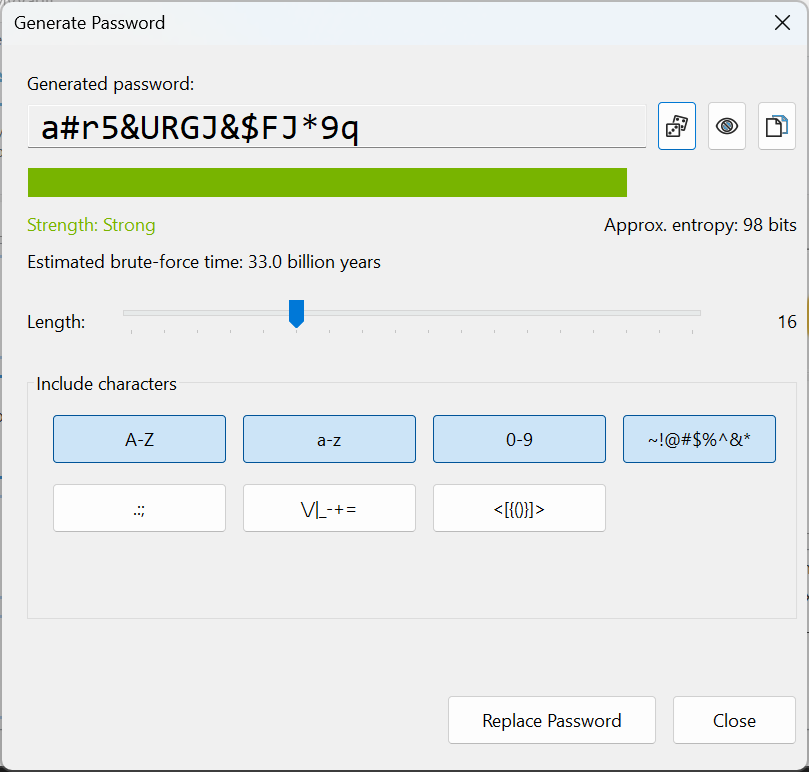
Click Replace Password to drop the generated value straight into the current credential.
10. Adding files & drag-and-drop
Any account (or sub-folder) can hold encrypted files. There are two easy ways to add them:
- Drag & drop — drag files (or whole folders) from Windows Explorer straight onto the file list. They are encrypted as they are copied in.
- Ribbon — use Add files on the Encrypted Files tab and pick the files to import.
As files are added they are encrypted with a fresh random key stream and written into the vault. The original source files are left untouched unless you choose to delete them yourself.
11. Folders & organising
Use the Encrypted Files ribbon tab to keep things tidy:
- Add folder — create a sub-folder inside the selected account.
- Rename file — change a file or folder name (re-encrypted on disk).
- Export file — decrypt a file back out to the normal file system.
- Delete file — permanently remove a file or folder (there is no encrypted trash).
- Up / Home / Refresh — navigate the folder tree.
The file list has sortable columns for Name, Type, Size, Date created and the raw encrypted file name, so you can correlate a display name with its ciphertext on disk.
12. Viewing files
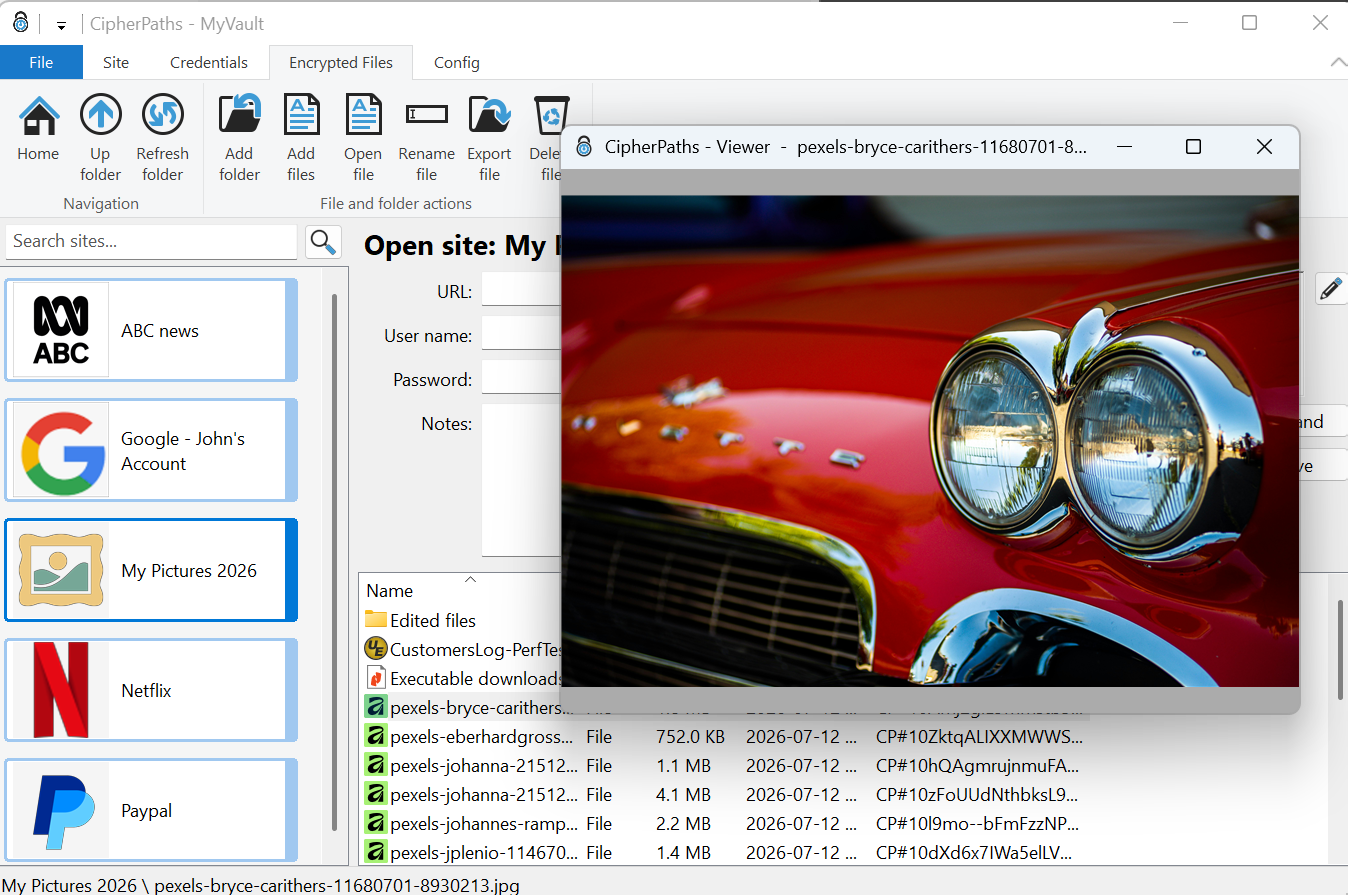
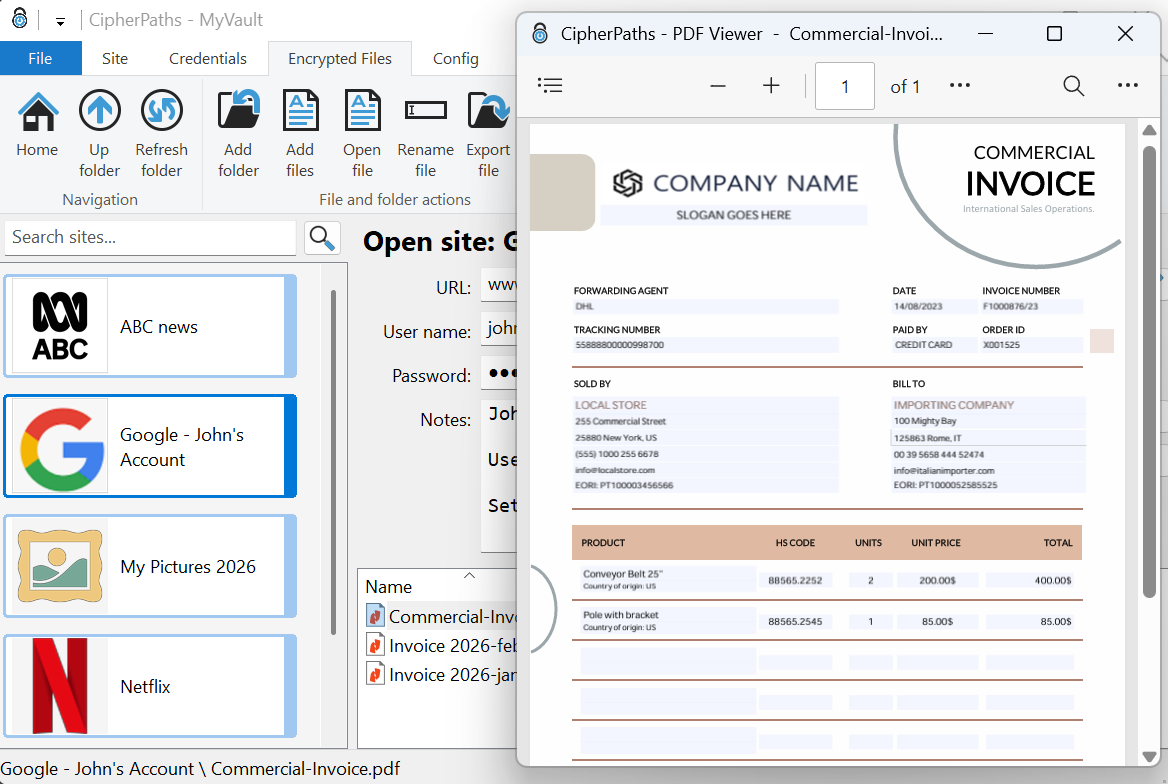
Double-click a viewable file to open it in the built-in viewer window. The file is decrypted into memory only — no plaintext copy is written to disk.
Images
JPEG and PNG images open in a resizable viewer with smooth, aspect-preserving scaling. Use the arrow keys to move between the other files in the folder.
PDFs
PDF files open in a dedicated PDF viewer powered by Microsoft Edge WebView2, with page navigation, zoom and search.
Text
Text files open in a read-only viewer, and a separate editor window lets you make and save changes back into the vault.
13. Import & export
From the File menu you can move whole datasets in and out of a vault:
- Export Vault — decrypt the entire vault to a chosen folder as plaintext, preserving the full folder structure. Useful for backups or migrating away. You must re-enter your master password to confirm.
- Import Vault — encrypt an existing folder tree straight into your open vault. Imported items are added; name collisions are skipped.
Because an exported vault includes its hidden metadata files, exporting and then importing round-trips your accounts, credentials, notes and icons faithfully.
14. Configuration & shortcuts
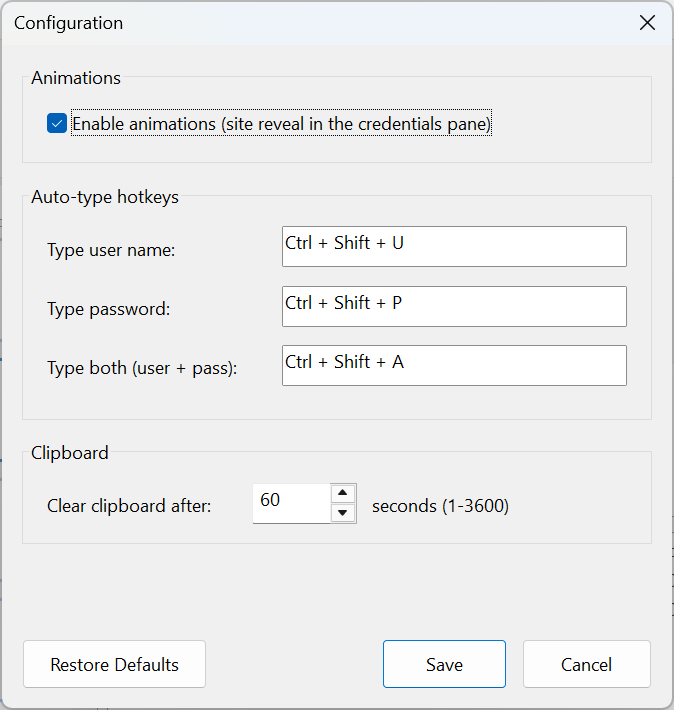
The Config tab lets you review and customise keyboard shortcuts and other options, so the actions you use most are always a keystroke away.
15. Security tips
- Choose a long, unique master password — ideally a passphrase.
- Print your recovery key and store it offline (e.g. in a safe).
- Lock the vault when you step away from your PC.
- Keep a backup of your vault folder; encrypted backups are safe to store on cloud drives.
- Remember that exported (plaintext) copies are not encrypted — handle them carefully.